


When it comes to installing a roof in Caledonia, WI, understanding the process is essential. You need to assess your roofing needs and choose the right materials for your home. Preparation is key, but it doesn’t end there. The installation itself requires careful attention to detail. Ready to learn about each step and make sure your roof stands the test of time? Let’s get started.
Assessing Your Roofing Needs
How can you determine if your roof needs repairs or replacement? Start by inspecting for visible damage, such as missing shingles, cracks, or leaks.
Look for water stains on your ceilings or walls, as they may indicate underlying issues. If you notice granules in your gutters, it’s a sign your shingles are deteriorating.
Check the age of your roof; most asphalt roofs last around 20 years. If yours is nearing that age, consider a professional evaluation.
Don’t forget to assess the overall condition of your roof’s structure. Sagging or bowing areas can signal serious problems that require immediate attention.
If you’ve experienced severe weather, like hail or heavy winds, it’s essential to inspect for hidden damage.
Finally, if your energy bills are rising, your roof isn’t providing proper insulation. Taking these steps will help you make an informed decision about your roofing needs. Additionally, if you notice leaky roofs or water stains, it’s crucial to address these signs promptly to prevent further damage.
Choosing the Right Materials
Choosing the right materials is essential for durability, energy efficiency, and aesthetics. Here are a few options to take into account:
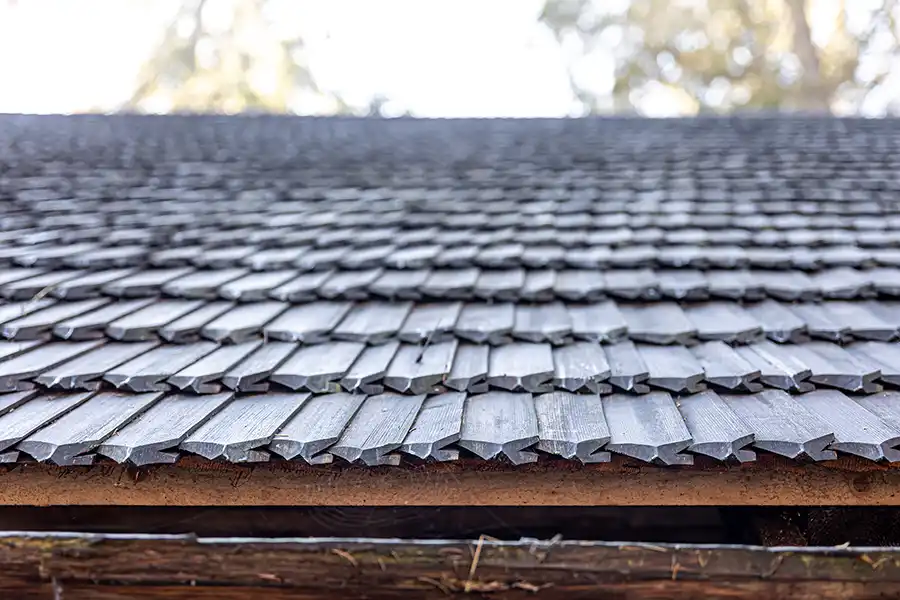
- Asphalt Shingles: Affordable and versatile, these are a popular choice for many homeowners.
- Metal Roofing: Known for its longevity and energy efficiency, metal roofing can withstand harsh weather conditions.
- Tile or Slate: These materials offer a distinctive look and exceptional durability, though they can be more expensive.
When making your decision, reflect on factors like your budget, local climate, and the architectural style of your home. A thorough inspection can help identify signs of roof problems and guide your material choice effectively.
Partnering with a trusted contractor, like Vesel Services, can help you navigate your options effectively and guarantee you select the best materials for your project.
Preparing for Installation
Before the installation begins, it’s crucial to prepare your home and property to guarantee a smooth process. Start by clearing the area around your home, removing outdoor furniture, planters, and vehicles to create safe access for the crew.
If you have pets, keep them indoors or in a secure area away from the work zone to prevent any stress or accidents.
Next, check for any overhanging tree branches that might interfere with the installation. Trimming them back can help avoid damage to both your roof and the workers.
You should also inform your neighbors about the upcoming project, as they’ll appreciate the heads-up about potential noise and activity.
Lastly, confirm that you have a designated area for storing materials and equipment, making it easier for the team to work efficiently. Additionally, organizing a roof inspection before installation can help identify any potential issues that need addressing.
Taking these steps will help set the stage for a successful roof installation.
Roof Installation Process
With your home properly prepared, the installation process can begin smoothly. The first step is to remove the old roofing material. This guarantees a clean slate for the new roof.
Next, your team will inspect the underlying structure for any damage and make necessary repairs. After that, the installation of the new roofing material takes place, following these key steps:
- Underlayment Installation: This protective layer helps prevent leaks and moisture entry.
- Shingle or Roofing Material Placement: Carefully laid to guarantee proper alignment and durability.
- Flashing Installation: Installed around chimneys and vents to direct water away.
Throughout the process, communication is crucial. Your installation team will keep you informed on progress and any adjustments needed. Additionally, the use of industry-leading materials ensures that your new roof will withstand Wisconsin’s harsh weather conditions.
Final Inspection & Roof Maintenance
After the installation is complete, it’s essential to conduct a thorough final inspection to confirm everything meets your expectations.
Check for any visible gaps, uneven seams, or loose shingles—these could lead to leaks. Make sure all flashing is adequately sealed and that gutters are clear of debris. You’ll want to verify that vents are installed correctly to promote proper airflow.
Once you’re satisfied, establish a maintenance routine. Regularly inspect your roof at least twice a year, especially after storms. Look for signs of wear, such as cracked shingles or rust on metal components.
Clean your gutters to prevent water buildup, and trim overhanging branches to reduce debris accumulation.
Don’t forget to keep a record of your inspections and repairs. This not only helps maintain your roof but also assists if you ever decide to sell your home.
Following these tips will help guarantee your roof remains in excellent condition for years to come.

Take the Next Step Toward a Reliable Roof
In the grand scheme of home improvement, installing a roof is your fortress against storms and sunshine alike. By taking the proper steps, from evaluating your needs to choosing durable materials, you’re not just putting a lid on your house; you’re building a sanctuary. Once you’ve completed your installation, don’t forget to inspect and maintain it regularly. After all, even the mightiest castles need upkeep to stand tall against time and weather. Your home deserves nothing less!